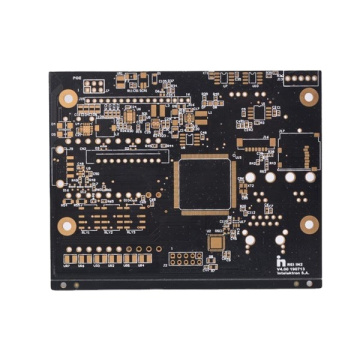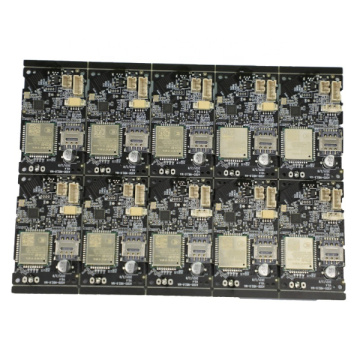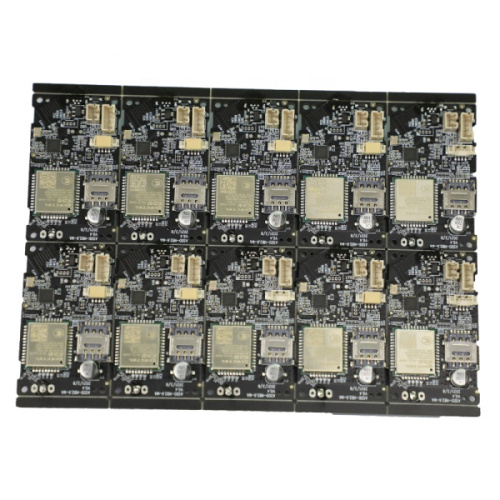


Competitive PCB Assembly and PCBA
-
$0.50≥1 Piece/Pieces
- Min. Order:
- 1 Piece/Pieces
- Min. Order:
- 1 Piece/Pieces
Your message must be between 20 to 2000 characters
Contact NowHow do you use the PCB breadboard?
If the experiment is done on a HDI PCB, the cost is too high. In order to achieve experimental purposes and low cost pcb manufacturing, we will use breadboards. In essence, the breadboard is the PCB building block of the electronic world. You only need to insert the leads of the PCB component into the holes on the breadboard and BAM! You have a circuit. The breadboard PCBA Manufacturing is very convenient, easy (and reusable), and does not require soldering, nor Surface-Mount (SMT) &BGA Assembly! You can perform through-hole PCB assembly, all its pop-up/pop-up windows. A breadboard is constructed in a special way, and you need to understand its basics before starting to build.
Step 1: The basic structure of the breadboard
The entire hole of the breadboard is designed to fit the leads of Electronic Components. These holes are connected in rows by conductive metal strips. On each breadboard, there are always two sets of two rows on the top and bottom. These are connected horizontally. These are usually used for batteries and contacts. Below I have attached an image that shows the arrangement of the pattern by outlines the connected holes in green.
You use special jumpers to go from one column/column to the next.


Now that you know how it is arranged, start building it.
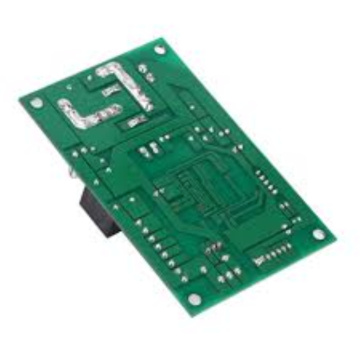
Below I have attached a picture showing how to perform this through-hole PCB assembly operation.
Step 4: Start building
Now you have mastered all the basic knowledge!
Go out, find some plans for what you want to make, and then do cheap custom pcb fabrication.

Related Keywords