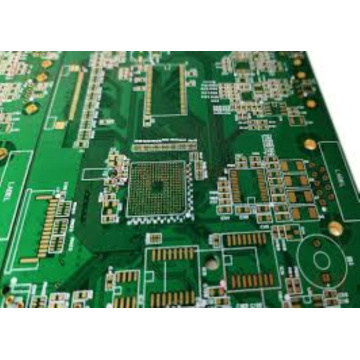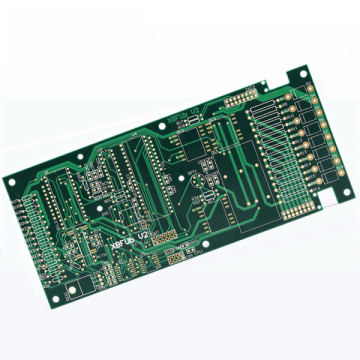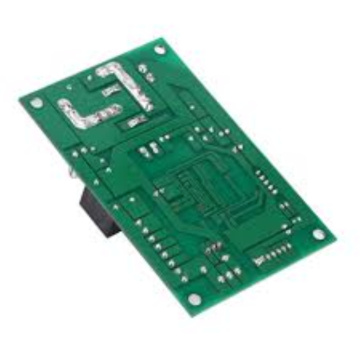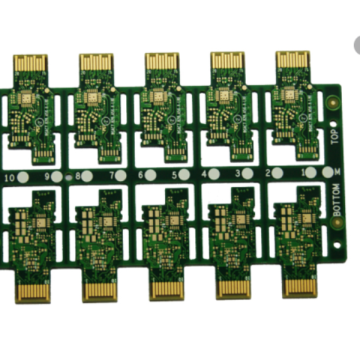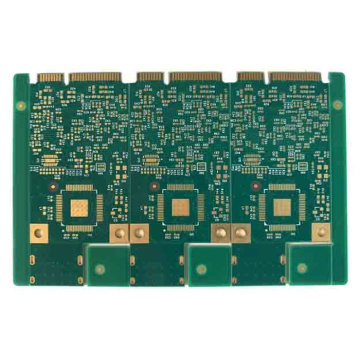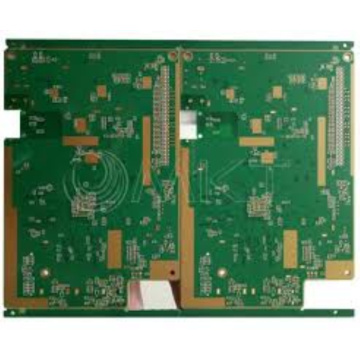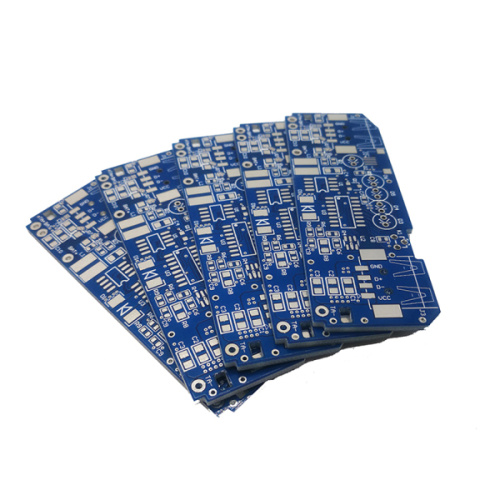
2 Layer fr4 94v0 Quick Turn PCB
-
$0.09≥1 Piece/Pieces
- Min. Order:
- 1 Piece/Pieces
- Min. Order:
- 1 Piece/Pieces
Your message must be between 20 to 2000 characters
Contact NowHow to use the PCB prototype board
Printed circuit boards have many technical uses. However, it is more cost-effective to conduct a concept test before entering the PCB manufacturing stage. Low Cost Prototype PCB allows ideas to be approved in a cheaper way before the full printed version is manufactured.
In this article, we will introduce the different available types and how to plan the final circuit board design using High Quality Prototype PCB Fabrication.
How to use the Quick Turn PCB prototype board
Before learning more about how to use the PCB prototype board, you must understand the different types of prototype boards available.
Perforated board
The performance board is one of the available types of prototype boards. This category is also called "pad per hole" design, where each hole has its own conductor pad made of copper. With this setting, you can test the connection by soldering between the individual pads. In addition, you can also route wires between the pads on the perforated board.
Stripping board
Like other common prototype PCBs, the patch panel also has a separate hole setting. Instead of having only one conductor pad per perforation, the copper strip extends parallel to the length of the circuit board to connect the holes, hence the name. These strips replace wires, and you can also disconnect them.
Both types of PCB prototypes can be used well for planning boards. Because of the existing copper wire connections, the patch panel can also be used to plan simple circuits. Either way, you will use prototype board soldering and prototype board wires to test potential boards.
Now you are ready to learn more details on how to use the prototype board design.
planning
Even if you know how to use a PCB prototype board, you don't want to go directly to building a prototype. Although cheap pcb manufacturing is much cheaper than printed circuit boards, they still have a more durable configuration. Before you start placing Electronic Components and Electronic connectors, you should spend some time in the planning phase to get the best results for yourself.
A straightforward way to get started is to use the circuit board planning application on a computer. Such software gives you the option to visualize the circuit before dropping any components. Please note that some programs are suitable for using perf and Stripboard at the same time, while others are only suitable for one type, so please plan One stop BOM purchase Solution accordingly.
If you want to use fewer digital solutions, you can also use graph paper for prototype board layout. The idea is that each position where the lines cross is a hole on the board. Then you can draw PCB assembly and Electronic connectors. If a peeling board is used, it can also be helpful to point out where you plan to interrupt the peeling.
Digital programs allow you to edit ideas faster, but hand-drawn content can help you orientate projects in different ways. Either way, don't skip the planning stage, because you can save time and effort when building a Protoboard.

When using protoboard, you may not need a whole sheet of paper. Since the size of the circuit board may vary, you may need to cut one piece. However, please be careful, as this process can be complicated.
Part of the reason is due to the material on the prototype board. This design usually laminates paper with a resin that can resist welding heat, which is very useful when you enter this stage. The disadvantage is that this resin can easily break the original board, so it is best to be extra careful.
One of the most effective and accurate ways to cut prototype boards is to use a straight edge and a sharp knife. You can use the edge as a guide to mark the line where you want to cut the board. Repeat this operation on the other side, and then place the prototype board on the edge of a flat surface such as a table. Then you can grab the board neatly according to your mark.
Expert tip: If you mark the holes along the board, you can get a cleaner break, because the prototype board that is not so stable can break and is easy to break.
Band saws and other belt tools can be used, but these tools are much more likely to damage the prototype board in the process.
Breadboard to stripping board
If you have done any work on the prototype PCB, then you may have encountered a breadboard. These prototype boards are great for developing designs because you can move and change components to establish a plan. The breadboard can also be reused.

If you want the temporary circuit to have a more robust and permanent configuration, moving the component from the bread to the peeling board is one of the most convenient methods.

As mentioned earlier, the strip board Quick Turn PCB has a copper strip on the bottom for connection. However, you won't need to connect all components all the time, so you need to break these limitations.
Fortunately, you only need a drill bit to complete this process. All you have to do is take a four-millimeter drill bit and press the tip of the pen on the hole you want to disconnect. Slightly twisted and pressurized, the copper can be cut off and a spacer can be formed. When learning how to use a double-sided PCB prototype board, please note that the copper foil is on both sides.
If you want more advanced tools than standard drills, you can use specific tools to disconnect these Electronic connectors, but the DIY method is also effective.
in conclusion
For anyone who wants to design and test a circuit board without bearing the cost of printing, knowing when and how to use a prototype board is a vital skill. Using the prototype circuit board, you can make great progress in the finished product.
Related Keywords

