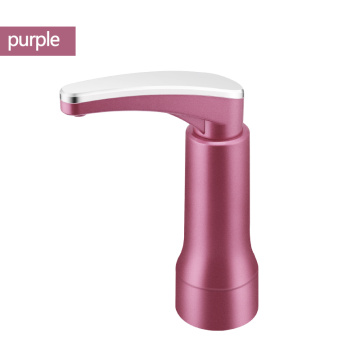


Mini Smart Water Dispenser
- Payment Type:
- L/C, T/T, Western Union
- Incoterm:
- FOB, CIF, EXW
- Delivery Time:
- 15 Days
- Transportation:
- Ocean, Land, Air, express
- Port:
- Shenzhen, Guangzhou
Your message must be between 20 to 2000 characters
Contact Now| Place of Origin: | China |
|---|---|
| Productivity: | 5000pcs/day |
| Supply Ability: | 5000pcs/day |
| Payment Type: | L/C,T/T,Western Union |
| Incoterm: | FOB,CIF,EXW |
| HS Code: | 8421211000 |
| Transportation: | Ocean,Land,Air,express |
| Port: | Shenzhen,Guangzhou |
Mini Smart Water Dispenser
Warm water dispenser
When the warm water dispenser is in use, press the heating switch, and the power supply will provide power to the "heat preservation" indicator light for power-on indication. At the same time, the power supply is divided into two ways: one way constitutes a heating circuit, so that the electric heating tube is energized to heat up; the other way provides voltage for the "heating" indicator light for heating instructions. When the water in the heating tank is heated to the set temperature, the thermostat contact is disconnected, cutting off the heating and heating indicator circuit power, the "heating" indicator light goes out, and the electric heating tube stops heating.
When the water temperature drops to the set temperature, the temperature controller contacts the power circuit, and the electric heating tube heats up again, so that the water temperature is kept at 85-95℃ over and over again.
There are dual protection components in the circuit of the warm water dispenser. When the water dispenser is over-temperature or a short-circuit failure occurs, the over-temperature fuse will automatically melt or manually reset the thermostat to automatically disconnect the heating circuit power supply, which plays a protective role. The over-temperature fuse is a one-time thermal protection element and cannot be reset. After troubleshooting, replace the new over-temperature fuse according to the original model specifications, and then manually reset the reset button of the thermostat by hand, and the contact can be closed to restart .
Ruidian focuses on the development of 3C electronic products. The current product line involves stylus pens, earphones, mobile phone Socket, mobile phone case, keyboard, etc., and will continue to expand the product line in the future. Both ODM and OEM support. Welcome everyone to visit.
JLB-W01 Water Dispenser Image Details:
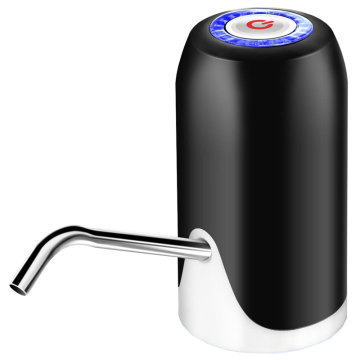
Headlight work indicator, Unique design, different pump
Quick punching durability, one-key water outlet, suitable size bucket, ABS environmental protection
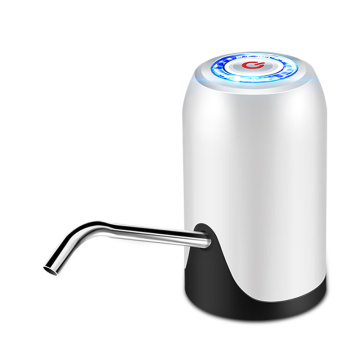
Have a face, more expected, The apperance is simple and extraordinary, add a beautiful scenery for you
Beautiful life, start by drinking water
How can these problems occur? Drinking fountain is a hotbed of bacteria, drinking water blind area, be careful of poisoning
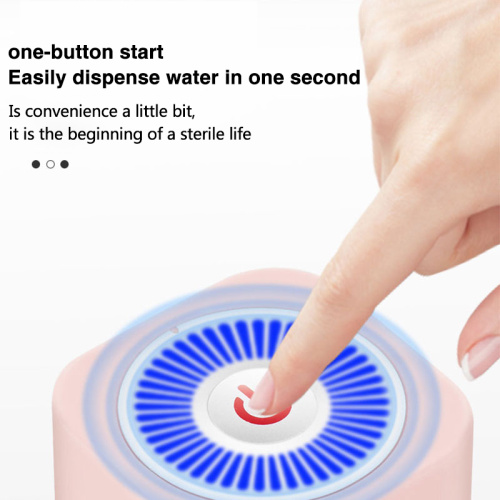
One-button start, easily dispense water in one second, is convenience a little bit, it is the beginning of a sterile life
Drink water and say goodbye to wait, it takes only 6 seconds to fill the water with 150ml
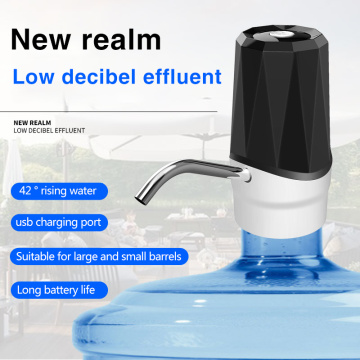
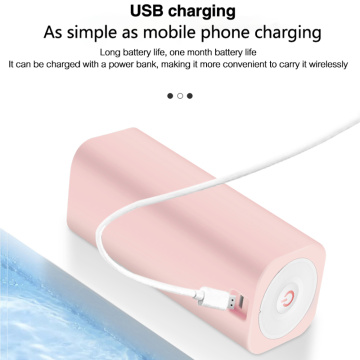
USB charging, as simple as mobile phone charging. Long battery life, it can be charged with a power bank, making it more convenient to carry it wirelessly.
Double the power water outlet, surging power, pumping one step faster
Low decibel design, quality life is small and quiet
304 stainless steel outlet pipe, not easy to rust and aging
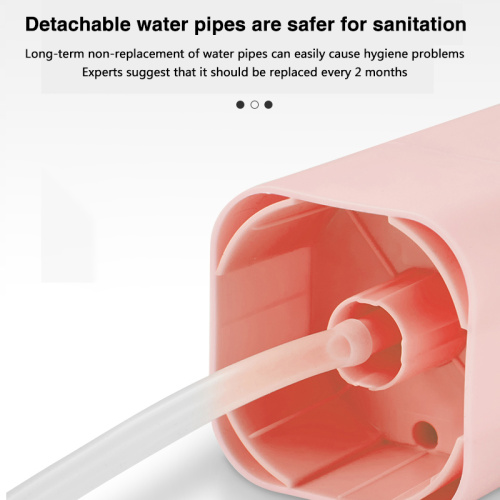
Detachable water pipes are safer for sanitation, long-term non-replacement of water pipes can easily cause hygiene problems, experts suggest that it should be replaced every 2 momths.
Unlimited use, small and portable, outdoor camping, kitchen, living room.
Widely applicable, do not change the barrel. Applicable capacity of bottled water 4.5L / 5L / 7.5L / 10L / 11.3L / 15L / 18.9L


Product Parameter
Product Name
Electric Pump for bottled water
Color
Pink, sky blue, pearl
Size
7.1 cm in diameter * 12.5 cm in height
Model
JLB-W01
Function
Key switch function; Charging prompt; Work indicator
Electrical parameters
5V/6W 800mA
Installation Steps
Step 1: Insert hoseStep 2: Put the other end in the bucker
Step 3: Over the barrel mouth
Step 4: Finish installation
Related Keywords