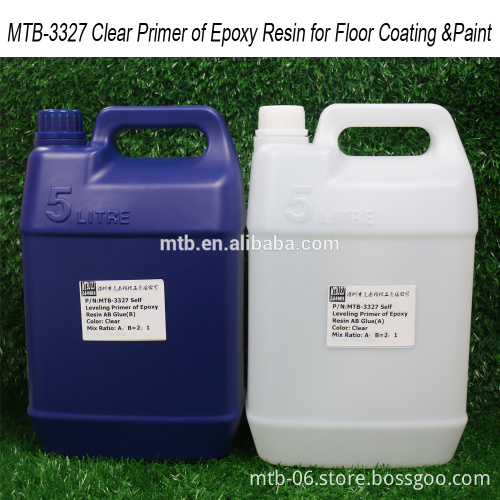
Epoxy Primer
- Delivery Time:
- 1 Days
Quantity:
Your message must be between 20 to 2000 characters
Contact NowBasic Info
Basic Info
| Place of Origin: | Guangdong, China (Mainland) |
|---|
Product Description
Product Description
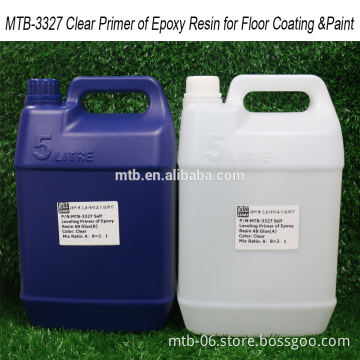
Product Description 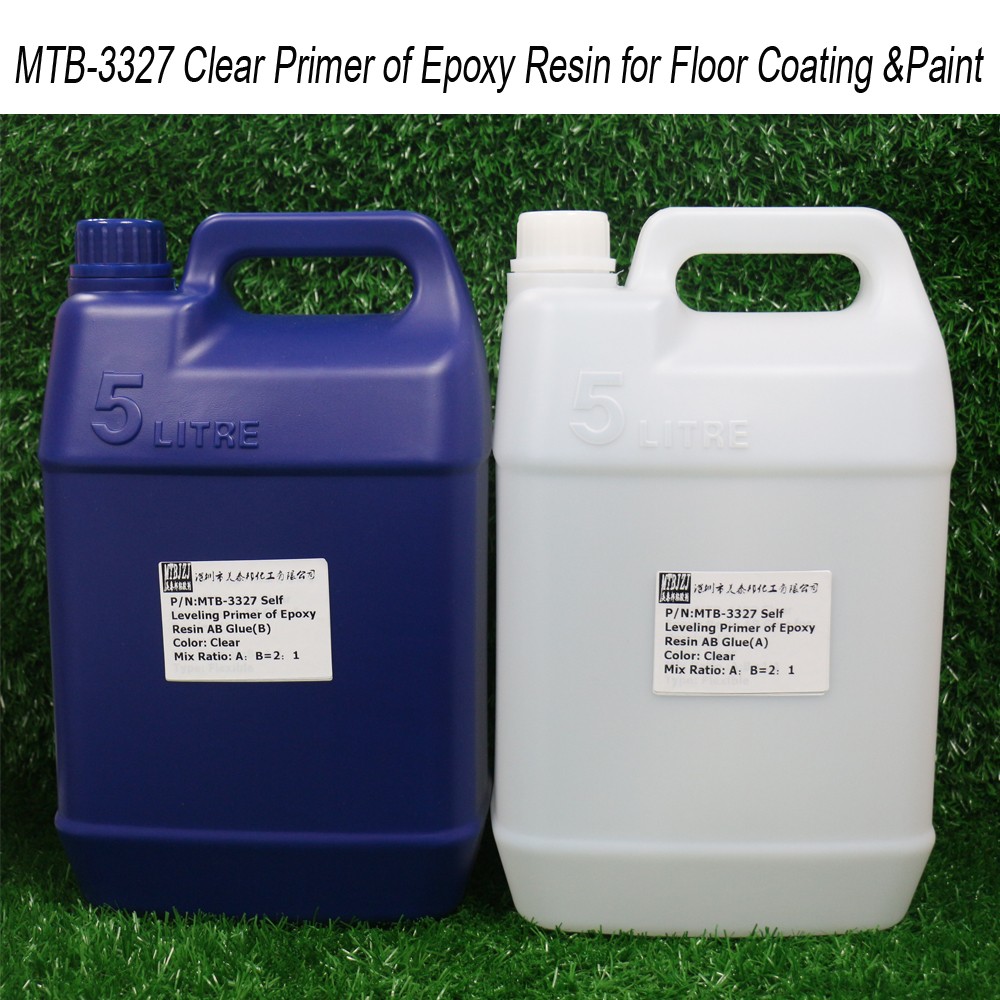 MTB-3327 Epoxy Primer ---Basement of Self Leveling Metallic Epoxy Resin Floor Coating and Paint
Coating on the cement floor itself and coating permeability can strengthen the adhesion. To fill on the cracks and holes of the concrete and cement floor to make the surface smoothly and bond tight to avoid peel off easily.
Features Features -Clear ,two components of epoxy resin and hardener with the mix ratio of 2:1
-A type of primer sealer for concent floor coating on the ground construction
-Can mix with colors both in liquid or powder,epecially metallic colors -Excellent operation performance, permeability and good sealing performance
-Enough operation time
-Excellent Bonding strength after cured
-With excellent adhesion with base layer after curing
-Used for professional epoxy primer on the ground construction,especially for concrete ,wood ,and cement floor. Application The Perfect Floor Systerm For
Retails Store Residential Living Spaces Hotels Schools Dealership Showrooms Shopping Malls Parking Lots Playing Grounds Wine Cellar Auto Reparing Shops
Office Factory Bathroom Children's Room Technical Data Sheet
Using Directions Instruction
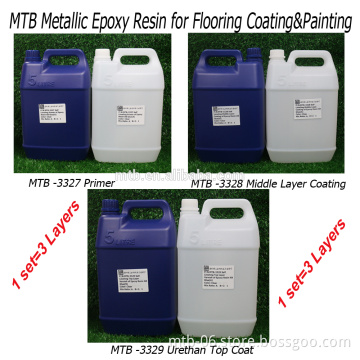
For the whole process of Epoxy Resin floor systems,there are 3 sets which is enough for floor coating and painting ,these are belows.
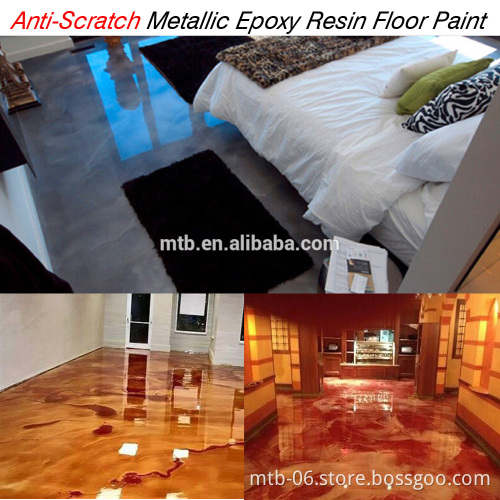
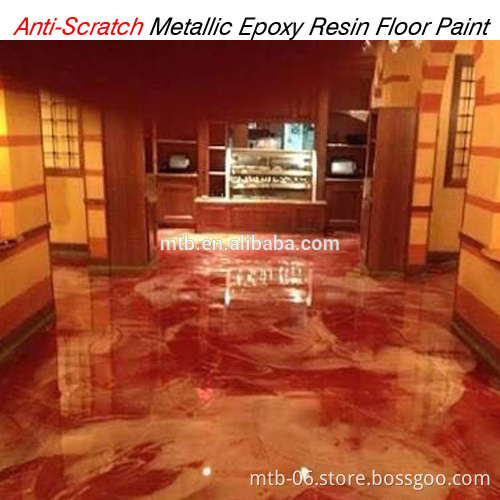
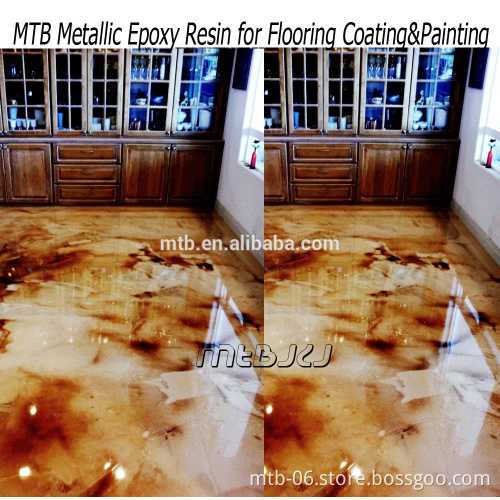
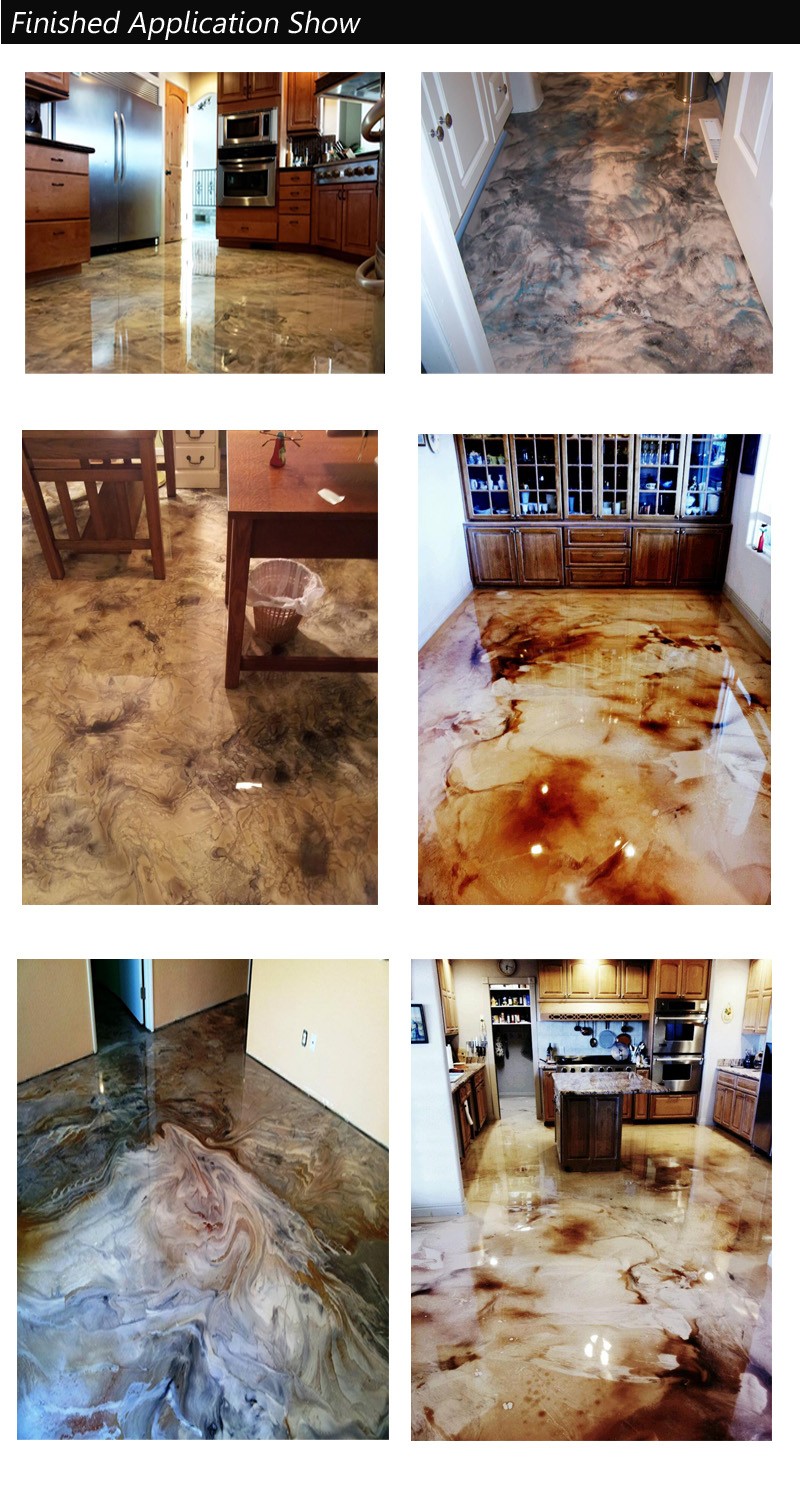
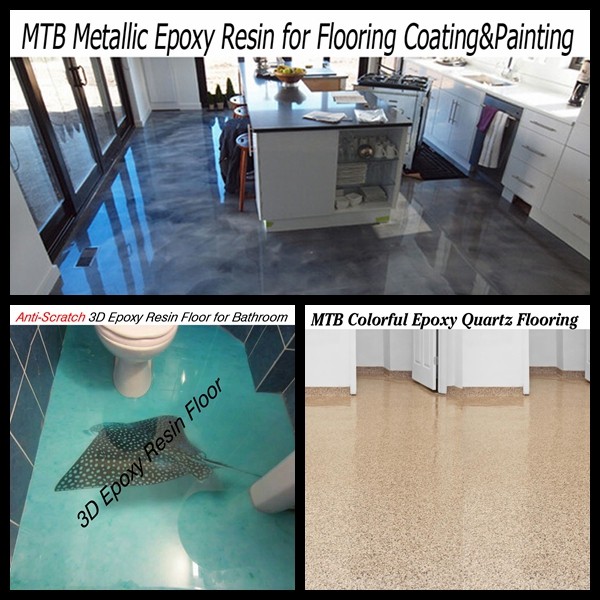
It is the perfect finish for any floor, our 100% Solid Epoxy Resin is not only ideal for Industrial and Commercial projects but also for Domestic areas such as kitchens, living areas and bathrooms. Its high gloss finish reflects light beautifully thus visually enhancing the look, style, appearance and size of any room.
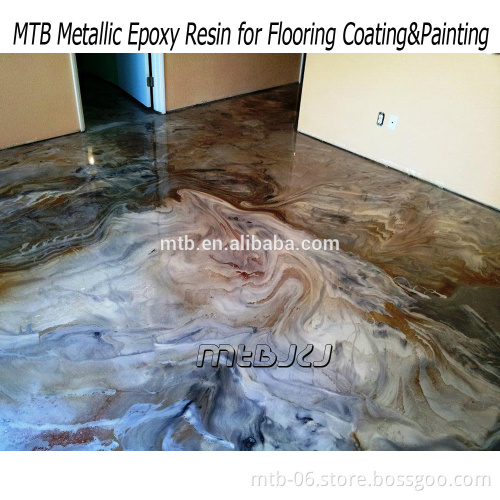
Mixed together with our Metallic Pigment you can create a unique one of a kind floor tailored to your individual tastes and requirements.
--MTB-3327 Epoxy Primer--Coating on the cement floor itself and coating permeability can strengthen the adhesion.In common it is clear ,100% solid content ,two components of epoxy resin and hardener ,with the mix ratio of 2:1,you can mix with the liquid colors or metallic powder pigments according to your requirements .
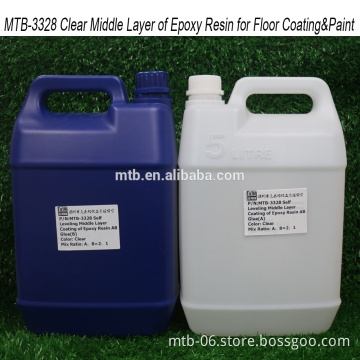
--MTB-3328 Epoxy Middle layer coating --It greatly enhance coating floor wear-resisting degree, density, improve the service life and make the perfect transition between the bottom and the surface layer. In common it is clear ,100% solid content ,two components of epoxy resin and hardener ,with the mix ratio of 2:1,you can mix with the liquid colors or metallic powder pigments according to your requirements .
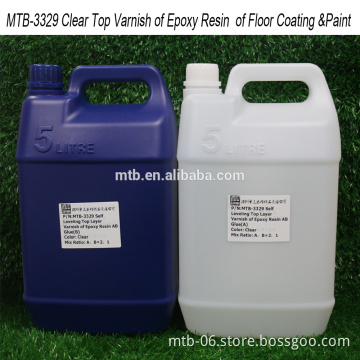
--MTB-3329 Urethan Epoxy Self-level Surface Coating Layer or Top layer Coating (Varnish)--Can make the whole coating project to determine the role of color, luster bright, smooth and lively, the abrasion resistance, acid and alkali resistance, oil resistance, resistance to water, dust, etc. In common it is clear ,100% solid content ,two components of epoxy resin and hardener ,with the mix ratio of 2:1,you can mix with the liquid colors or metallic powder pigments according to your requirements . Operation Steps Step 1. Prepare the surface.
Preparation of the substrate is necessary in order to ensure adhesion between the epoxy product and the substrate. Suitable methods are sanding or diamond-grinding. Any surfaces that have been contaminated with oils may also require chemical cleaning.
Step 2. Sweeping and cleaning of the floor.
Use an industrial vacuum that picks up even small dust particles. The floor must be cleaned of all dusts and residues before starting to prime. Otherwise you will have various particles trapped within the coat and adhesion will be significantly weakened. The less micro-dust on the surface the less primer you will need.
Notes:We must keep the floor is clean then the MTB-3327 can be bonded tightly to the concrete floor then keep your finished floor effect for a long shelf life
Step 3. Prime the floor with a suitable epoxy primer of MTB-3327
Always prime the floor, don’t believe claims that priming is not necessary. Priming will give your floor a longer life and better adhesion to the substrate. Priming will seal the substrate thus eliminating the risks of bubbles and gasses.
Priming helps reduce the amount of product that will be required in the later stages. Ensure that the areas are ventilated properly. It is common to coat two layers of primer in order to properly seal the floor. Use a proper electrical mixer to mix the A and B component of the primer.
Once mixed pour the product in a random pattern across the area you wish to apply your Designer Epoxy foor Resin. Using a notched squeegee spread the product gently around until you have an even coat on the floors surface. Then use a good quality roller, as poor quality rollers may start to shed or spiked roller and back roll the product (be careful not to over do this process as colours will merge into 1 if over rolled)
Step 4. Fill all cracks, holes etc with epoxy grout.
(This step can also take place before priming if you prefer) For thin cracks it may be necessary to slice them with a diamond cutter before filling in order to improve the anchoring of the grout.
Once mixed pour the product in a random pattern across the area you wish to apply your Designer Epoxy foor Resin. Using a notched squeegee spread the product gently around until you have an even coat on the floors surface. Then use a good quality roller, as poor quality rollers may start to shed or spiked roller and back roll the product (be careful not to over do this process as colours will merge into 1 if over rolled)
Notes:For the first layer coating ,it needs about 4-5 hours to dry ,so during the process if you find somewhere it is not so smooth ,you can get more MTB-3327 to fill in and can do more times as you need ;you can use your fingers to touch if it is hard and not sticky with your hands or feed that means it dry ,then you can start the second layer of MTB-3328 Color Middle Layer Coating
Step 5. Mixing of Epoxy Resin--MTB-3328 Color Middle Layer Coating
Empty all the contents of the Metallic Pigment with the hardener (part B) and mix for 3 minutes. Follow this by then mixing the hardener with the Epoxy component (part A). Use an electrical mixer and mix at least for 3 minutes. Don’t skimp on the mixing! This step is very important. Poor mixing will lead to a tacky floor! Leave to settle for a few minutes allow bubbles to disperse.
Once mixed pour the product in a random pattern across the area you wish to apply your Designer Epoxy floor Resin. Using a notched squeegee spread the product gently around until you have an even coat on the floors surface. Then use a good quality roller, as poor quality rollers may start to shed or spiked roller and back roll the product (be careful not to over do this process as colours will merge into 1 if over rolled)
Notes:For the second layer coating ,it needs about 4-5 hours to dry ,so during the process if you find somewhere it is not so smooth ,you can get more MTB-3328 to roller ;The mix ration between the MTB-3328 and color pigment is 50:1,if you think the color is not so brighter as you need,you can roller for twice to make it darker and can do more times as you need ;you can use your fingers to touch if it is hard and not sticky with your hands or feed that means it dry ,then you can start the top layer of MTB-3329 Top Varnish Layer Coating
Step 6. Apply the MTB-3329 Top Varnish Coating
Mix Epoxy component (part A) with the hardener (part B), follow this by then mixing the hardener with the Use an electrical mixer and mix at least for 3 minutes. Don’t skimp on the mixing! This step is very important. Poor mixing will lead to a tacky floor! Leave to settle for a few minutes allow bubbles to disperse.
Once mixed pour the product in a random pattern across the area you wish to apply your Designer Epoxy foor Resin. Using a notched squeegee spread the product gently around until you have an even coat on the floors surface. Then use a good quality roller, as poor quality rollers may start to shed or spiked roller and back roll the product (be careful not to over do this process as colours will merge into 1 if over rolled)
Notes:For the last layer coating ,it needs about 4-5 hours to dry ,so during the process if you find somewhere it is not so smooth ,you can get more MTB-3329 to roller ;In common ,it is clear ,but if you want to have a mixed color with the sencond layer ,you can also mix with the colors you need ;think the color is not so brighter as you need,you can roller for twice to make it darker and can do more times as you need ;you can use your fingers to touch if it is hard and not sticky with your hands or feed that means it dry ,then you can get the finished epoxy resin floor you need ,after 1-3 days you can step into the house .
Notes:There are a variety of ways to create different finishes, please ask a member of our team or visit one of our approved training centres for training.
Detailed Images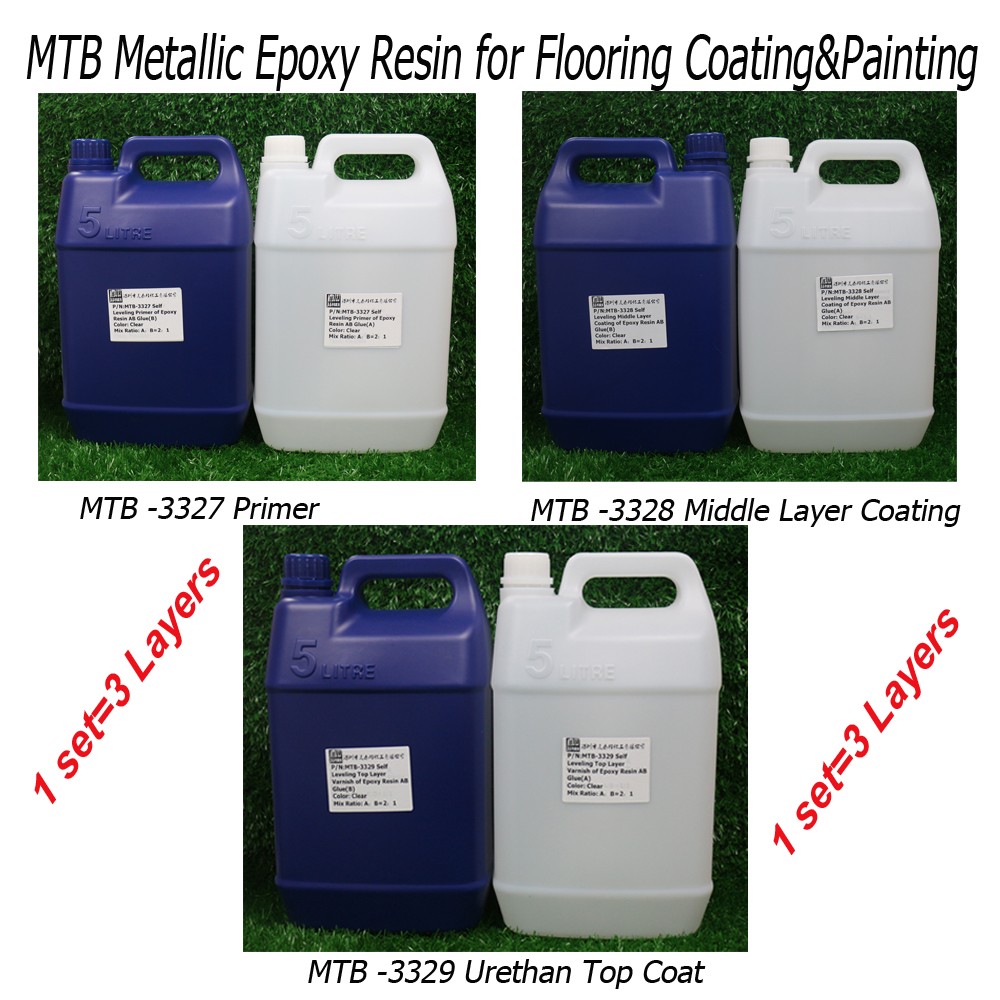
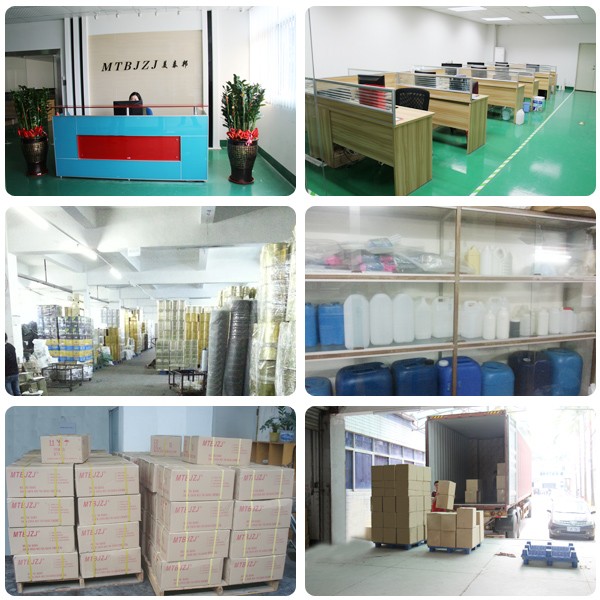
 Packing & Delivery
  Related Products
 MTB-3327 Epoxy Primer ---Basement of Self Leveling Metallic Epoxy Resin Floor Coating and Paint
Coating on the cement floor itself and coating permeability can strengthen the adhesion. To fill on the cracks and holes of the concrete and cement floor to make the surface smoothly and bond tight to avoid peel off easily.
Features Features -Clear ,two components of epoxy resin and hardener with the mix ratio of 2:1
-A type of primer sealer for concent floor coating on the ground construction
-Can mix with colors both in liquid or powder,epecially metallic colors -Excellent operation performance, permeability and good sealing performance
-Enough operation time
-Excellent Bonding strength after cured
-With excellent adhesion with base layer after curing
-Used for professional epoxy primer on the ground construction,especially for concrete ,wood ,and cement floor. Application The Perfect Floor Systerm For
Retails Store Residential Living Spaces Hotels Schools Dealership Showrooms Shopping Malls Parking Lots Playing Grounds Wine Cellar Auto Reparing Shops
Office Factory Bathroom Children's Room Technical Data Sheet
For the whole process of Epoxy Resin floor systems,there are 3 sets which is enough for floor coating and painting ,these are belows.
It is the perfect finish for any floor, our 100% Solid Epoxy Resin is not only ideal for Industrial and Commercial projects but also for Domestic areas such as kitchens, living areas and bathrooms. Its high gloss finish reflects light beautifully thus visually enhancing the look, style, appearance and size of any room.
Mixed together with our Metallic Pigment you can create a unique one of a kind floor tailored to your individual tastes and requirements.
--MTB-3327 Epoxy Primer--Coating on the cement floor itself and coating permeability can strengthen the adhesion.In common it is clear ,100% solid content ,two components of epoxy resin and hardener ,with the mix ratio of 2:1,you can mix with the liquid colors or metallic powder pigments according to your requirements .
--MTB-3328 Epoxy Middle layer coating --It greatly enhance coating floor wear-resisting degree, density, improve the service life and make the perfect transition between the bottom and the surface layer. In common it is clear ,100% solid content ,two components of epoxy resin and hardener ,with the mix ratio of 2:1,you can mix with the liquid colors or metallic powder pigments according to your requirements .
--MTB-3329 Urethan Epoxy Self-level Surface Coating Layer or Top layer Coating (Varnish)--Can make the whole coating project to determine the role of color, luster bright, smooth and lively, the abrasion resistance, acid and alkali resistance, oil resistance, resistance to water, dust, etc. In common it is clear ,100% solid content ,two components of epoxy resin and hardener ,with the mix ratio of 2:1,you can mix with the liquid colors or metallic powder pigments according to your requirements . Operation Steps Step 1. Prepare the surface.
Preparation of the substrate is necessary in order to ensure adhesion between the epoxy product and the substrate. Suitable methods are sanding or diamond-grinding. Any surfaces that have been contaminated with oils may also require chemical cleaning.
Step 2. Sweeping and cleaning of the floor.
Use an industrial vacuum that picks up even small dust particles. The floor must be cleaned of all dusts and residues before starting to prime. Otherwise you will have various particles trapped within the coat and adhesion will be significantly weakened. The less micro-dust on the surface the less primer you will need.
Notes:We must keep the floor is clean then the MTB-3327 can be bonded tightly to the concrete floor then keep your finished floor effect for a long shelf life
Step 3. Prime the floor with a suitable epoxy primer of MTB-3327
Always prime the floor, don’t believe claims that priming is not necessary. Priming will give your floor a longer life and better adhesion to the substrate. Priming will seal the substrate thus eliminating the risks of bubbles and gasses.
Priming helps reduce the amount of product that will be required in the later stages. Ensure that the areas are ventilated properly. It is common to coat two layers of primer in order to properly seal the floor. Use a proper electrical mixer to mix the A and B component of the primer.
Once mixed pour the product in a random pattern across the area you wish to apply your Designer Epoxy foor Resin. Using a notched squeegee spread the product gently around until you have an even coat on the floors surface. Then use a good quality roller, as poor quality rollers may start to shed or spiked roller and back roll the product (be careful not to over do this process as colours will merge into 1 if over rolled)
Step 4. Fill all cracks, holes etc with epoxy grout.
(This step can also take place before priming if you prefer) For thin cracks it may be necessary to slice them with a diamond cutter before filling in order to improve the anchoring of the grout.
Once mixed pour the product in a random pattern across the area you wish to apply your Designer Epoxy foor Resin. Using a notched squeegee spread the product gently around until you have an even coat on the floors surface. Then use a good quality roller, as poor quality rollers may start to shed or spiked roller and back roll the product (be careful not to over do this process as colours will merge into 1 if over rolled)
Notes:For the first layer coating ,it needs about 4-5 hours to dry ,so during the process if you find somewhere it is not so smooth ,you can get more MTB-3327 to fill in and can do more times as you need ;you can use your fingers to touch if it is hard and not sticky with your hands or feed that means it dry ,then you can start the second layer of MTB-3328 Color Middle Layer Coating
Step 5. Mixing of Epoxy Resin--MTB-3328 Color Middle Layer Coating
Empty all the contents of the Metallic Pigment with the hardener (part B) and mix for 3 minutes. Follow this by then mixing the hardener with the Epoxy component (part A). Use an electrical mixer and mix at least for 3 minutes. Don’t skimp on the mixing! This step is very important. Poor mixing will lead to a tacky floor! Leave to settle for a few minutes allow bubbles to disperse.
Once mixed pour the product in a random pattern across the area you wish to apply your Designer Epoxy floor Resin. Using a notched squeegee spread the product gently around until you have an even coat on the floors surface. Then use a good quality roller, as poor quality rollers may start to shed or spiked roller and back roll the product (be careful not to over do this process as colours will merge into 1 if over rolled)
Notes:For the second layer coating ,it needs about 4-5 hours to dry ,so during the process if you find somewhere it is not so smooth ,you can get more MTB-3328 to roller ;The mix ration between the MTB-3328 and color pigment is 50:1,if you think the color is not so brighter as you need,you can roller for twice to make it darker and can do more times as you need ;you can use your fingers to touch if it is hard and not sticky with your hands or feed that means it dry ,then you can start the top layer of MTB-3329 Top Varnish Layer Coating
Step 6. Apply the MTB-3329 Top Varnish Coating
Mix Epoxy component (part A) with the hardener (part B), follow this by then mixing the hardener with the Use an electrical mixer and mix at least for 3 minutes. Don’t skimp on the mixing! This step is very important. Poor mixing will lead to a tacky floor! Leave to settle for a few minutes allow bubbles to disperse.
Once mixed pour the product in a random pattern across the area you wish to apply your Designer Epoxy foor Resin. Using a notched squeegee spread the product gently around until you have an even coat on the floors surface. Then use a good quality roller, as poor quality rollers may start to shed or spiked roller and back roll the product (be careful not to over do this process as colours will merge into 1 if over rolled)
Notes:For the last layer coating ,it needs about 4-5 hours to dry ,so during the process if you find somewhere it is not so smooth ,you can get more MTB-3329 to roller ;In common ,it is clear ,but if you want to have a mixed color with the sencond layer ,you can also mix with the colors you need ;think the color is not so brighter as you need,you can roller for twice to make it darker and can do more times as you need ;you can use your fingers to touch if it is hard and not sticky with your hands or feed that means it dry ,then you can get the finished epoxy resin floor you need ,after 1-3 days you can step into the house .
Notes:There are a variety of ways to create different finishes, please ask a member of our team or visit one of our approved training centres for training.
Detailed Images

 Packing & Delivery
  Related Products


Related Keywords
Related Keywords


