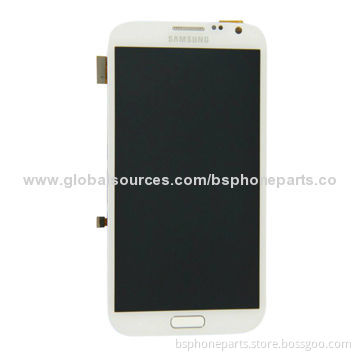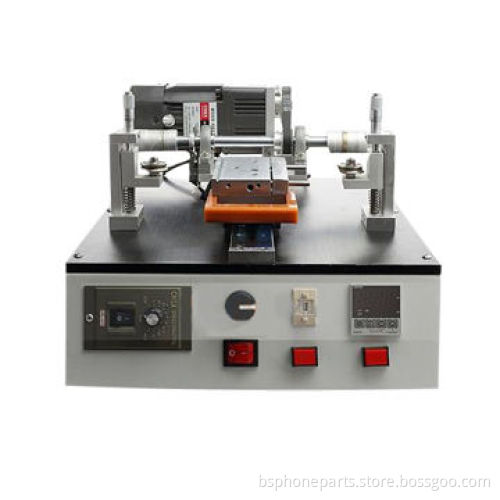
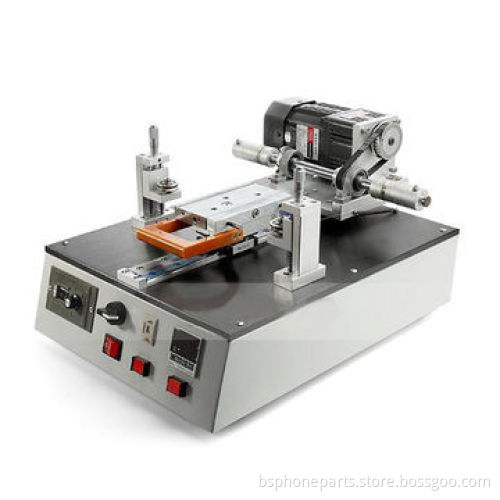
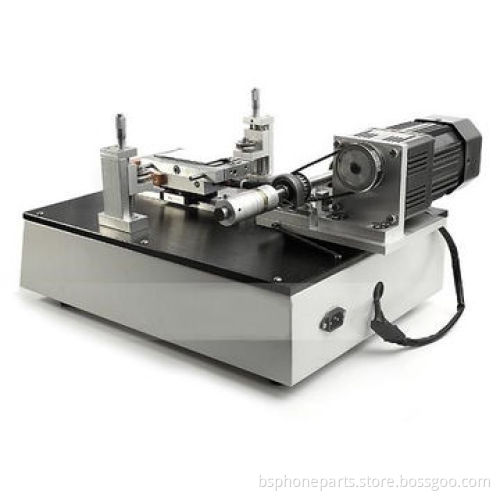
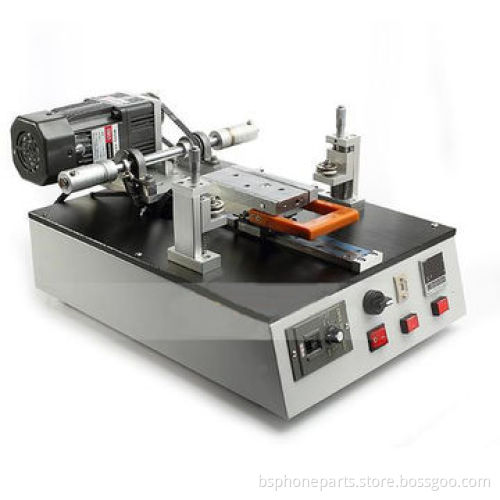
Automatic Screen LCD Repair Separate Machine Tool/Separator Glass for iPhone LCD
- Payment Type:
- T/T, Bank Transfer, MoneyGram or Western Union
Quantity:
Your message must be between 20 to 2000 characters
Contact NowBasic Info
Basic Info
| Payment Type: | T/T, Bank Transfer, MoneyGram or Western Union |
|---|
Product Description
Product Description
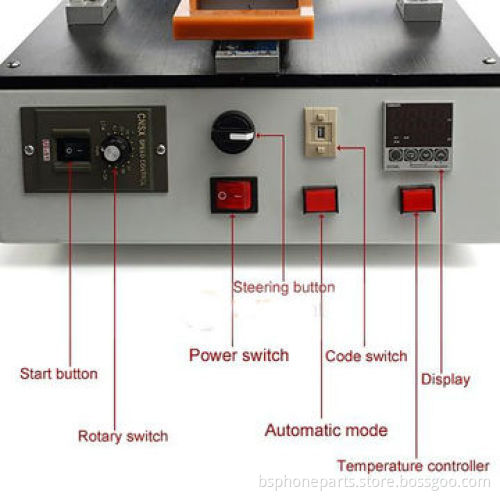
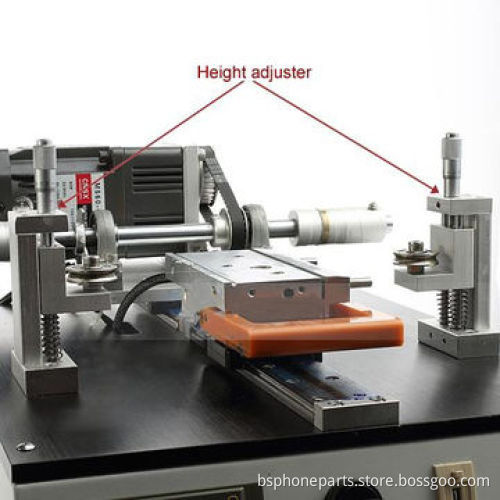
- Turn the power switch on.
- Turn the temperature controller on, and set the temperature between 60 and 80 degree.
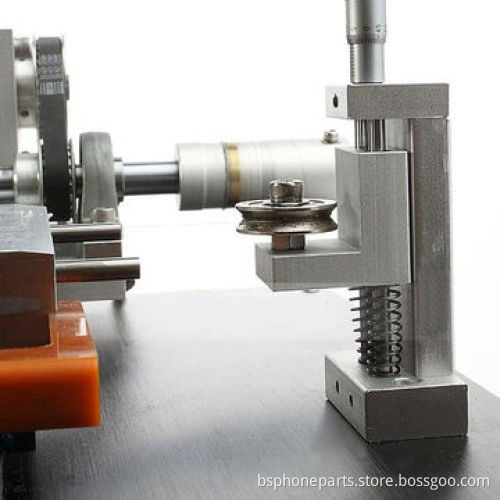
- Wind wire on the rollers.
- Fix the wire on the roller of the left side motor. Wind the wire from top to bottom, then adjust the steering button to up position. Go on winding wire bypass the front two rollers. Then turn on the rotary switch. Wind the wire about 3-5m, turn off the rotary switch.
- Pull the wire tight, and wind the wire from bottom to top, then fix the other end on the roller of the right side motor. Adjust the steering button down. After the wire rotary half on the wheel, turn off the rotary switch. Finally, adjust the steering button to horizontal position.
- Adjust the motor from the top of the skidway about 2 cm.
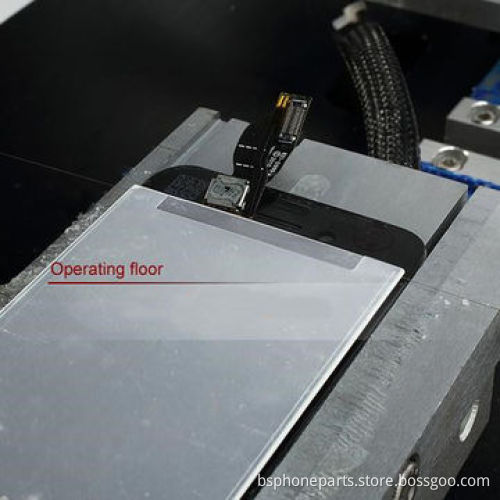
- Put the LCD on the operating floor.
- Adjustment the wire and heating stage on the horizon, then turn the automatic mode on. Adjust the proper speed, keep the wire and screen certain radian. Slowly push heating stage by hand.
- When reach the end of the LCD assembly, quickly push the heating stage back and forth 2 times. After finishing the separation, just separated the lcd and touch panel by hand.
- Adjust the rotary switch to the low position, and trun off other buttons, finally trun off the power switch.
Related Keywords
Related Keywords
You May Also Like
You May Also Like