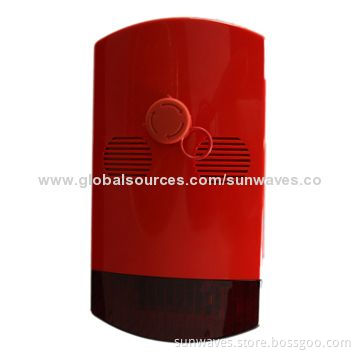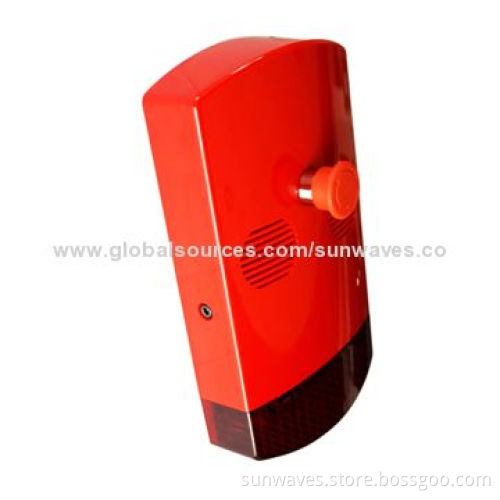
Wireless Site Alarm
- Payment Type:
- T/T 10 Days in Advance
Quantity:
Your message must be between 20 to 2000 characters
Contact NowBasic Info
Basic Info
| Payment Type: | T/T 10 Days in Advance |
|---|
Product Description
Product Description
- The 2-pole I.D. switch is accessed through the port in the back of the unit
- Any position of the switches can be selected as long as all alarms which need to interconnect have the same switch positions
- Use a small screw driver or similar tool to move the switches
- Set the switches on all alarms before connecting the batteries
- The wireless site alarm is powered by six 9V lithium PP3 batteries
- Remove the battery cover in the back and connect the batteries to the connection bar
- Replace cover
- Test the alarms by activating each one in turn
- Activation of any one of the alarms will cause all alarms to sound and flash
- Press the red button to sound, twist clockwise and release to stop
- Using this leaflet as a template mark off the three fixing hole centers and fix the screws into the surface so that the head of the screw remains 16mm above the surface
- Locate the alarm back plate over the screws and drop into place
- The batteries should be replaced every 6 months
- Remove the old batteries and dispose of correctly
- Position the new batteries in the same manner
- If the battery voltage becomes too low then the indicator light will flash in the front lens
Related Products
Related Keywords
Related Keywords
You May Also Like
You May Also Like
-
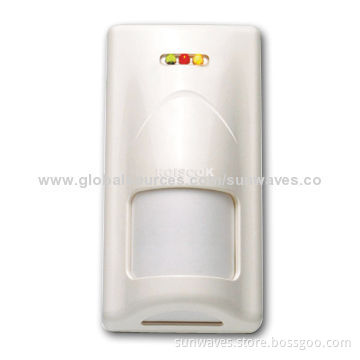
Dual-technology Motion Detector with Low-power Consumption, Size 128 x 64 x 40mm
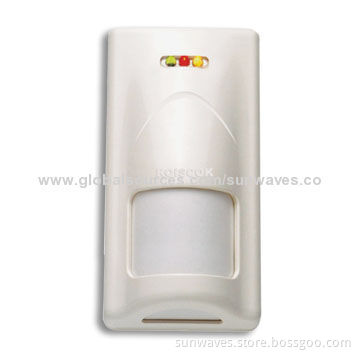
Dual-technology Motion Detector, Sized 128 x 64 x 40mm
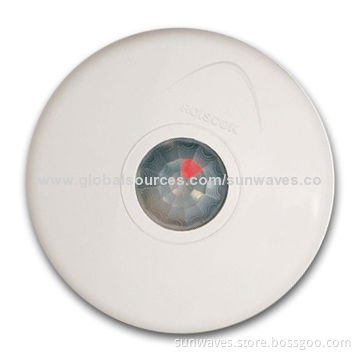
Dual-infrared Ceiling Detector with 4.0m Maximum Installation Height
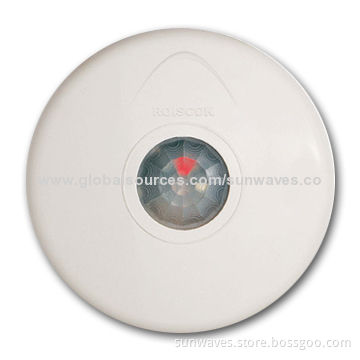
Dual-infrared Ceiling Detector with Full Orientating Top Viewing Angle of 110 Degrees
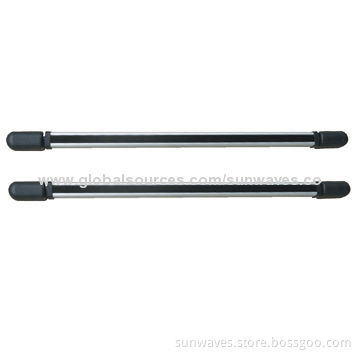
Photo Beam Frame Detector
Related ProductsProduct Categories-
Magnetic contacts(26)
-
IR detectors(25)
-
Liquid level controllers(9)
-
Dual technology detectors(18)
-
Wired intruder alarms(16)
-
PIR detectors(15)
-
Electronic automation supplies(10)
-
Photoelectric beam sensors(12)
-
Proximity sensors(1)
-
Wireless intruder alarms(8)
-
Remote-control transmitter modules(4)
-
Fire alarm control panels(3)
-
Smoke detectors/alarms(3)
-
Shock detectors(3)
-
Intelligent touch switches(2)
-
Gas detectors(2)
-
Panic buttons(2)
-
Home automation systems(1)
-
PC remote controls(1)
-
Switching power supplies(1)
-
Gas leak detectors(1)
-
Sirens, horns & bell boxes(1)
-
Glass break detectors(1)
-
Wireless repeaters(1)