Newly- Designed 120*30 40W SMD2835 LED Panel Light
- Payment Type:
- T/T, Paypal, Money Gram, Western Union
Quantity:
Your message must be between 20 to 2000 characters
Contact NowBasic Info
Basic Info
| Place of Origin: | Shenzhen Guangdong China |
|---|---|
| Payment Type: | T/T, Paypal, Money Gram, Western Union |
Product Description
Product Description
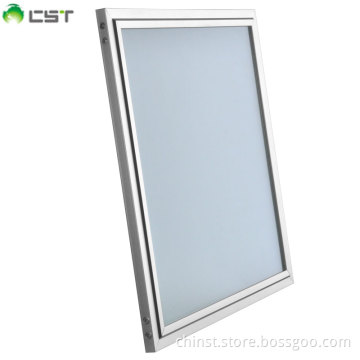
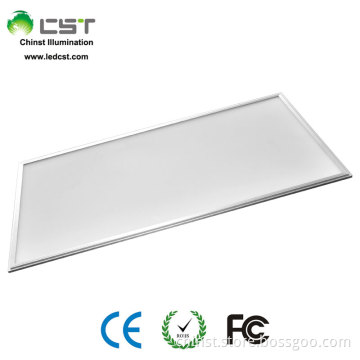
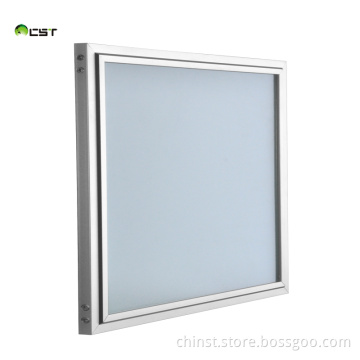
newly- designed 120*30 40w smd2835 led panel light
1, Advantages of smd led panel light:
Easy installation: Simply replace the grill lamp or false ceiling, or hang from the roof using chains;
Super Slim of 10mm thinckness, making for attractive and versatile signage;
Edgewise, the LEDs emit evenly lighting through a LGP ( Acrylic ), the luminosity is bright, soft and comfortable for eyes;
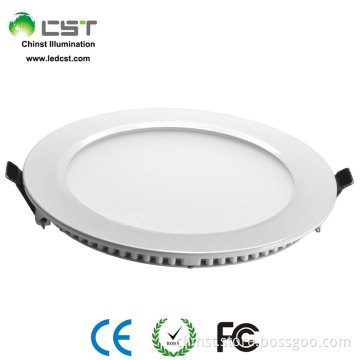
Cooler than traditional display, versatile in size, shape and configuration;
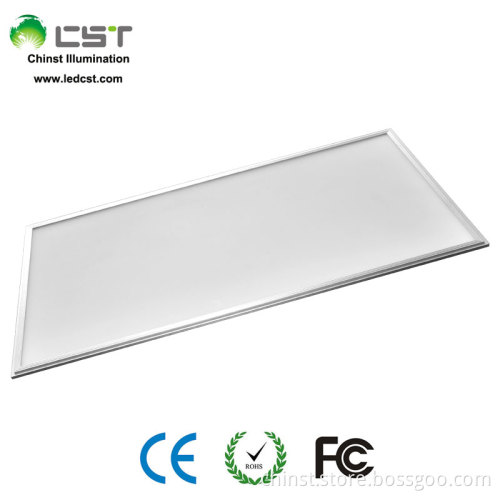
Four Sides illuminating,beat heat sink,with temperature rise less than 20 degree,good for extending the panel's lifespan;
Optimized circuit design ensures no interference with any other LEDs when a single one fails.
2, Feature:
80% less power consumption than traditional lighting source;
SMD LED panle light from Epistar or San'an with superb feature;
Ultra slim and light, with thickness only 10mm;
External high PF Constant Current LED Driver,instant start, No flickering and No humming, safe and reliable;
Edgewise, the LEDs emit evenly lighting through a LGP ( Acrylic ), the luminosity is bright, soft and comfortable for eyes;
Long lifespan >50,000hours, 3 years warranty,CE,ROHS approved.
3, Applications:
smd LED Panel light are used for Ceiling, Walls, art gallery, the car, the counter,etc.
4, Installation:
1, Fix the smd led Panel light to the ceiling;
(1,) Embedded installation and replace the ceiling with the panel which has the same specifications;
A, Take off the ceiling and put the pannel into the ceiling from the diagonal;
B, Fix the panel to the T shelf.
(2,) Inhaled installation
Mount the ceiling frame to the hole, fix the smd led panel light as showed in the above A.
2, Fix the smd led panel light on the wall
(1,) Fix the wall frame to the wall with screws;
(2,) Settle the driver into the frame;
(3,) Screw the panel on four angles of the frame and tighten the screws;
(4,) Fix the hanging rope to the ceiling;
(5,) Screw the hanger into the threads in the four angles of the panel;
(6,) Adjust to the proper height.
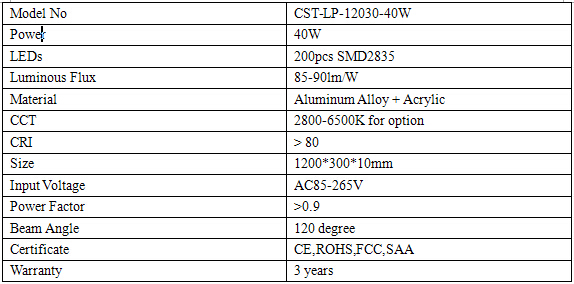
5, Panel Parameter:
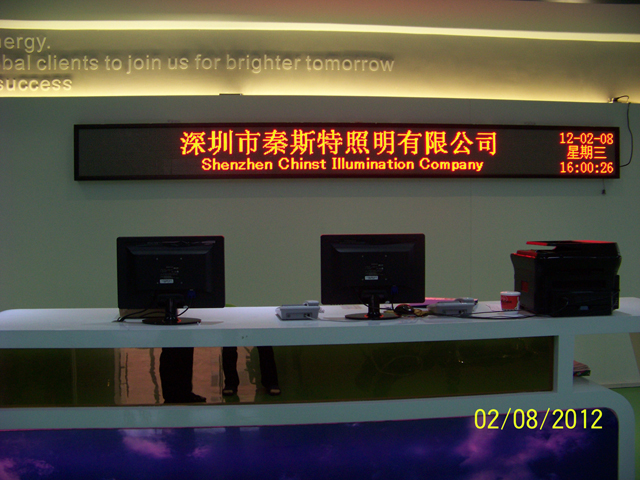
Factory Demonstration:
1, Advantages of smd led panel light:
Easy installation: Simply replace the grill lamp or false ceiling, or hang from the roof using chains;
Super Slim of 10mm thinckness, making for attractive and versatile signage;
Edgewise, the LEDs emit evenly lighting through a LGP ( Acrylic ), the luminosity is bright, soft and comfortable for eyes;
Cooler than traditional display, versatile in size, shape and configuration;
Four Sides illuminating,beat heat sink,with temperature rise less than 20 degree,good for extending the panel's lifespan;
Optimized circuit design ensures no interference with any other LEDs when a single one fails.
2, Feature:
80% less power consumption than traditional lighting source;
SMD LED panle light from Epistar or San'an with superb feature;
Ultra slim and light, with thickness only 10mm;
External high PF Constant Current LED Driver,instant start, No flickering and No humming, safe and reliable;
Edgewise, the LEDs emit evenly lighting through a LGP ( Acrylic ), the luminosity is bright, soft and comfortable for eyes;
Long lifespan >50,000hours, 3 years warranty,CE,ROHS approved.
3, Applications:
smd LED Panel light are used for Ceiling, Walls, art gallery, the car, the counter,etc.
4, Installation:
1, Fix the smd led Panel light to the ceiling;
(1,) Embedded installation and replace the ceiling with the panel which has the same specifications;
A, Take off the ceiling and put the pannel into the ceiling from the diagonal;
B, Fix the panel to the T shelf.
(2,) Inhaled installation
Mount the ceiling frame to the hole, fix the smd led panel light as showed in the above A.
2, Fix the smd led panel light on the wall
(1,) Fix the wall frame to the wall with screws;
(2,) Settle the driver into the frame;
(3,) Screw the panel on four angles of the frame and tighten the screws;
(4,) Fix the hanging rope to the ceiling;
(5,) Screw the hanger into the threads in the four angles of the panel;
(6,) Adjust to the proper height.
5, Panel Parameter:
Factory Demonstration:

Related Keywords
Related Keywords